


Be You-nique!
Our projects during this session was all about how special each and everyone of my students are in life. I wanted them to know that are wonderfully and uniquely created. The artwork focused on them and showcased their uniqueness (YOU-NIQUENESS)!
Project 1: Be You-nique Word Art
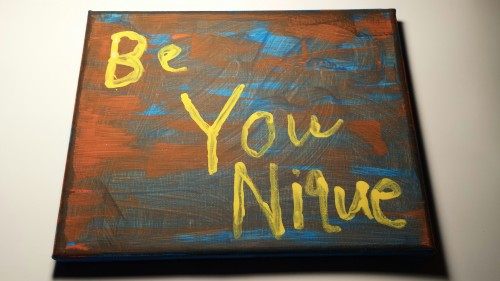
Our first lesson was a word art painting on canvas. The children were able to paint their canvas in two to three colors using visible brush strokes. I explained to them about using contrast colors and colors of the color wheel.
After painting the various colors on the canvas and then letting them dry, the student were able to begin painting their word art on the canvas. The students were given the instructions to paint any variation of the words: Be Unique (B-U-Nique, Be You-Nique, Be U-nique). They first wrote it on the canvas in chalk (Note: chalk is a great tool to use (especially with young children) for placement before laying down a more permanent medium) and then went over it in paint.
I love how this modern word art turned out! I can see it hanging on their wall for years to come and to remind them how special and uniquely they are created!
Project 2: Andy Warhol Hand Prints
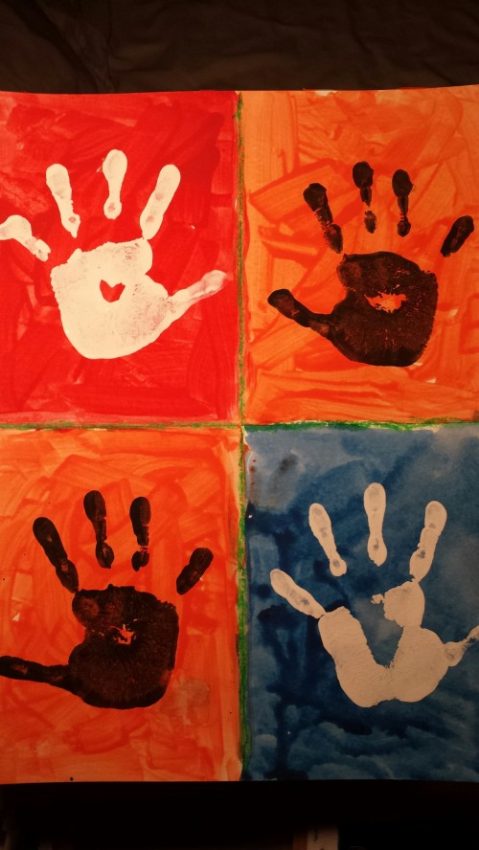 Little hands don’t stay little forever. So I thought it would fun to do a project that showcased their little hands. I found the idea for it online, but could not find the site anymore…found similar variations if you do a search. It is a take on Pop Art using Andy Warhol’s style to create a hand design.
I gave each child a 12×16 sheet of paper and a ruler. So the first thing we did was to have a lesson on measuring and mapping out our paper to create four quadrants that the children would need to use to place their hand prints in.
After we mapped out the four spaces, the children were given instructions to paint two of the diagonal quadrants the color orange and then one blue and the other red. In our next class, When the paper was dry, we were able to place the hand prints in each quadrant. I placed white paint on a sheet of cream color felt (I used cream so I would be able to see the white paint) in a plastic container (shoe box size) and then black paint in another plastic container lined with a sheet of felt. I used the felt so it would act as a stamping pad to keep the children from getting too much paint on their hands.
As you can see, the project is a sweet keepsake and fun wall pop art!
Project 3: Fun Self-Portraits
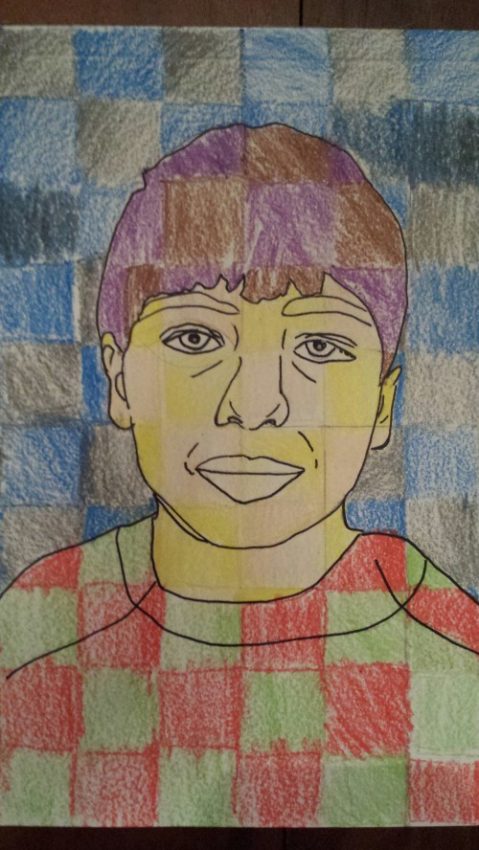 Using Chuck Close as an inspiration, I had the children do fun self-portraits using a grid system. The children were given a sheet of white art paper (somewhere between 100 – 140 lb. so it would hold up without crinkling). I showed them every step of the way (they are 5 – 7 year olds so most of the time I work with them step by step) how to use a ruler to make a grid (I did not worry about every square being 1 square inch…just wanted the children to make their own grid. This took about 50 minutes to get all the children to complete their grid. I also took time to take their pictures so I would have them for our next class.
Before our next class, I printed the photos of each child on 8.5×11 photocopy paper. I handed each child their printed photo and gave them a sheet of carbon paper from an art supply store. I had the children place the carbon side down on their blank sheet of paper (and checked to make sure it was placed carbon side down). Then the children placed their photo print on top of the carbon sheet. I did place (removable) tape on the top and bottom to keep the three sheets from moving around on the children.
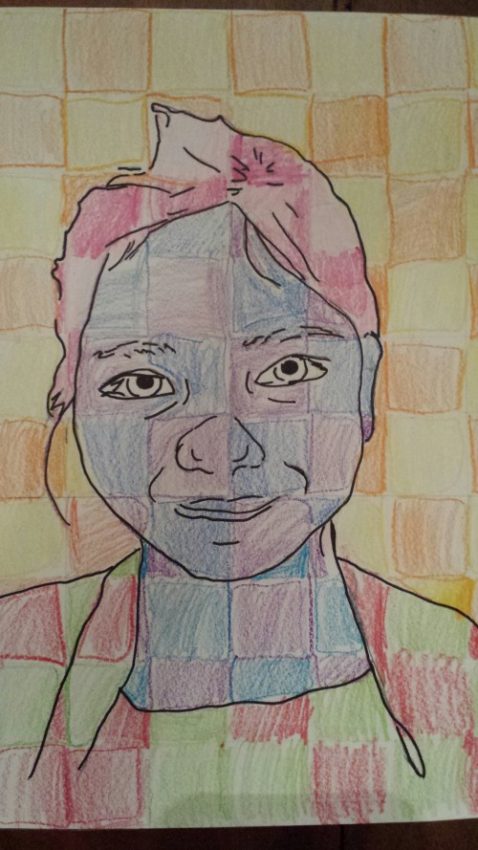 After their image was completely traced onto their grid sheet, we took the tape off and separated the sheets. I told the children they would be able to choose two colors for each section of their portrait (two colors for their background, two for their hair, two for their face, etc.).
It was fun to see the various color portraits. Some children insisted that their flesh color be flesh color, while others just chose their favorite colors. I love them…how about you?