


DIY: Photo Transfers & Mounting
EASY PHOTO TRANSFERS ON WOOD

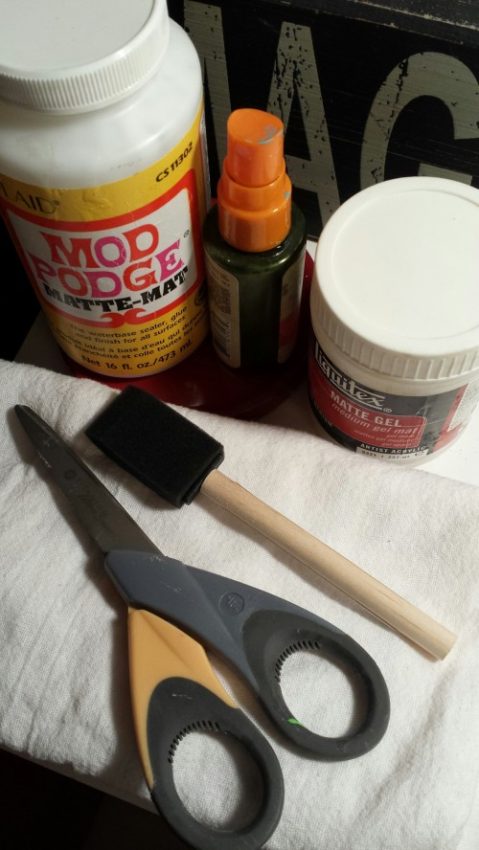
TOOLS TO HAVE ON HAND
Photo printed from laser printer (20lb. paper)
Gel Medium
Mod Podge
Wood board or plaque (light in color)
Sponge brush or synthetic 1 inch brush (for a smooth finish)
Scissors
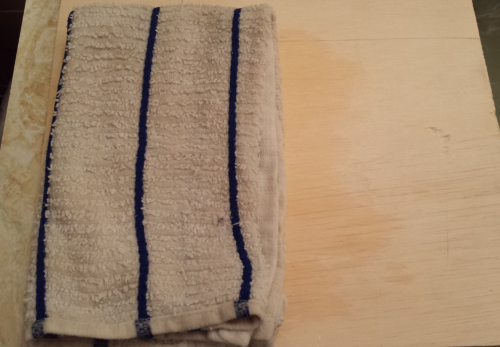
Towel or rag
Paper, towels or placemat (to protect work station)
WOOD TRANSFER
YOU WILL NEED A PHOTO and WOOD Panel, Board or plaque
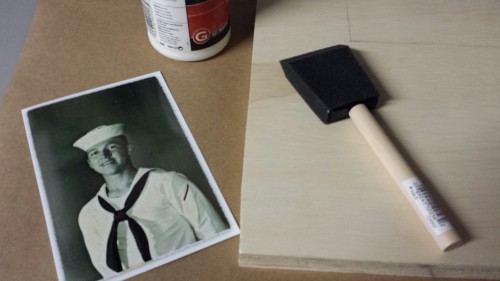
Make a copy of your favorite photograph on a laser printer using thin paper (20 lb. or less). I used a photo (copy of an original photo) I had of my husband’s father. It is more work to soak through the layers of a real photograph (so a quality laser print on thin paper (20 lb.) works much better (and faster).
Make sure to make it the correct size (or trim with scissors) to fit on your wood or canvas ( I used a larger board to be able to add to it later–will post the finished piece on another Tuesday’s Tips & Treasures (tutorial).
Also, if it has WORDS ON IT, make sure to edit it and print it in REVERSE (as you will be laying it on your board FACE down).

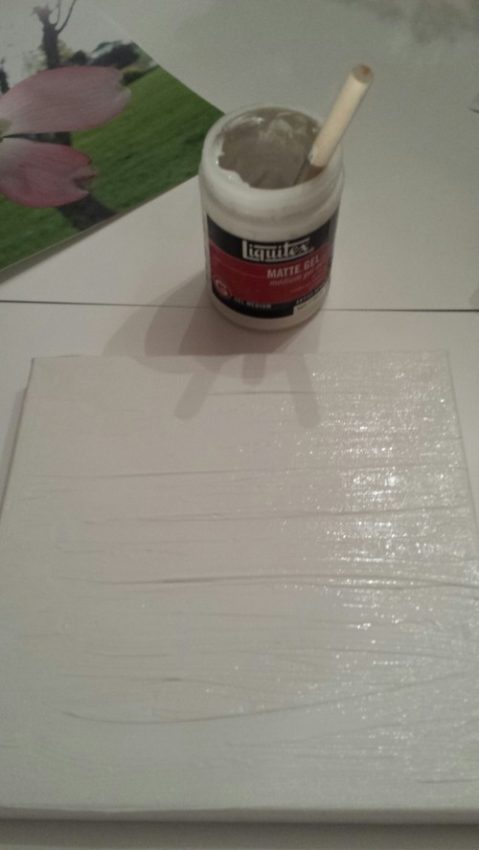
Time for the Medium Gel (I used Matte Gel Medium for the transfer).
Cover the TOP of your photo with a even (thin and smooth) layer of the Gel Medium
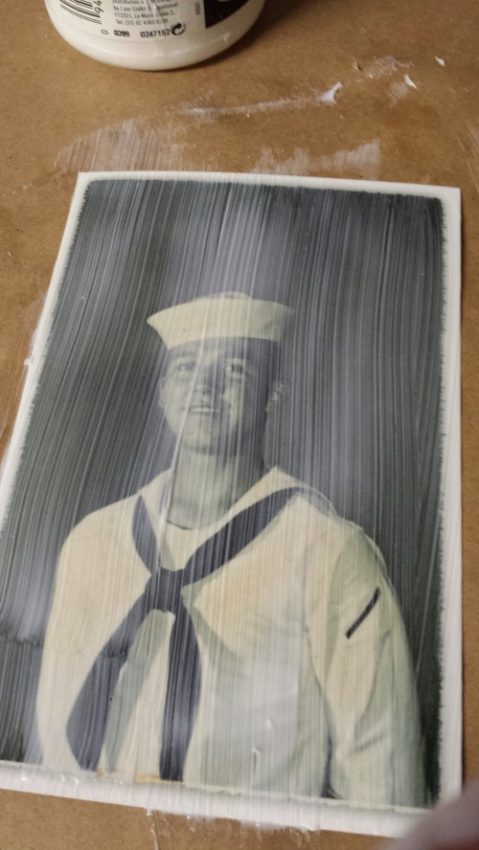
Very carefully lay your photo face down on your wood and smooth it out so there are not any bubbles under it (use a brayer, bone folder, plastic ruler or even an old gift card (in my case, I used a plastic socket cover ☺)
Wipe off any excess Gel Medium that comes out from under your photo.
Let is dry at least 8 hours (give it time for the magic to happen, so even letting it sit over night is good).
After at least 8 hours, it is time to generously wet it down. Place a wet towel or rag on it and allow it to absorb into the back of your print.
NOTE: Since I used a photo instead of paper, I ended up scoring it with a sewing tool to allow the water to absorb through the layers of film. Therefore, print your photo on thin paper from a laser printer… it will work best!).

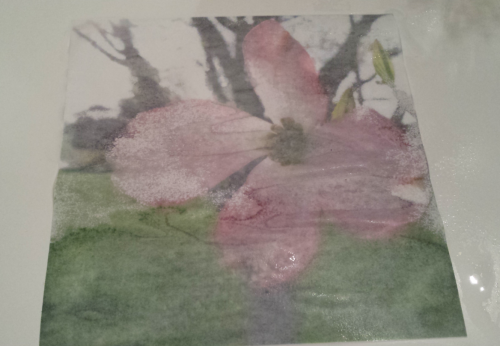
Gently rub the paper until it all comes off and you can clearly see your print (this may take some practice to get the right touch. Also, do not be alarmed if some of your picture come off as you rub it…a distress look can be even more appealing then a clear smooth photo (however, if you rub or scratch a face off, just print another and try again from the beginning).

Once you have your picture the way you like it, LET IT DRY, and then take your brush and place a smooth thin coat of the Mod Podge over your entire picture. I used a matte finish (Mod Podge comes in several forms…so experiment and see what effects you like best).

NOTE: Mod Podge has come out with a transfer medium as well. It is possible to use it instead of the Gel Medium to transfer a photo.
CANVAS TRANSFER

A CANVAS can be used instead of WOOD. I tried a different process with the canvas and placed a smooth thin layer of Gel Medium directly to the CANVAS instead of to the PHOTO.
I used a spray bottle to spritz the BACK SIDE of my print with water (lightly spritz it and DO NOT SOAK).
NOTE: HOLD YOUR PAPER UP when you LIGHTLY spritz it (do not soak…as you can see from my photo (blooper) it will run/bleed if soaked).
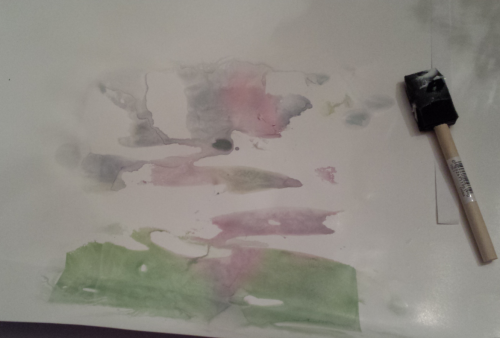
OOPS!
CAREFULLY place your LIGHTLY:) spritz print FACE DOWN on the canvas (be careful not to let it move around). Gently press down on it to make sure air bubbles are out and that it is fixed to the canvas.

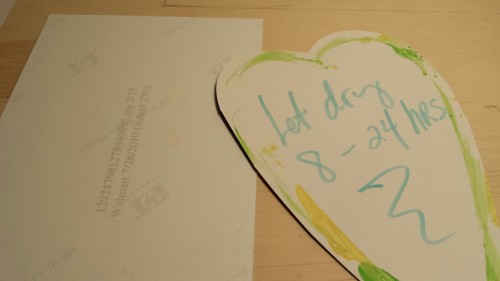
Let dry 8 – 24 hours and then soak the paper with water and gently rub off the paper as directed above with the wood transfer.
Seal with a thin coat of Mod Podge.
MOUNTING a PHOTO (or print) TO WOOD OR CANVAS

Depending on what you want to do with your Photo, you can use a wood panel/plaque or canvas the same size as your photo (or larger if you want to add other embellishments to it). I used a plaque slightly taller (but needed to trim the sides a bit) than my photo in order to add a sentiment to the top of it.

I sanded my plaque just little to smooth off any rough spots.

I painted my piece of wood first before adding my photo

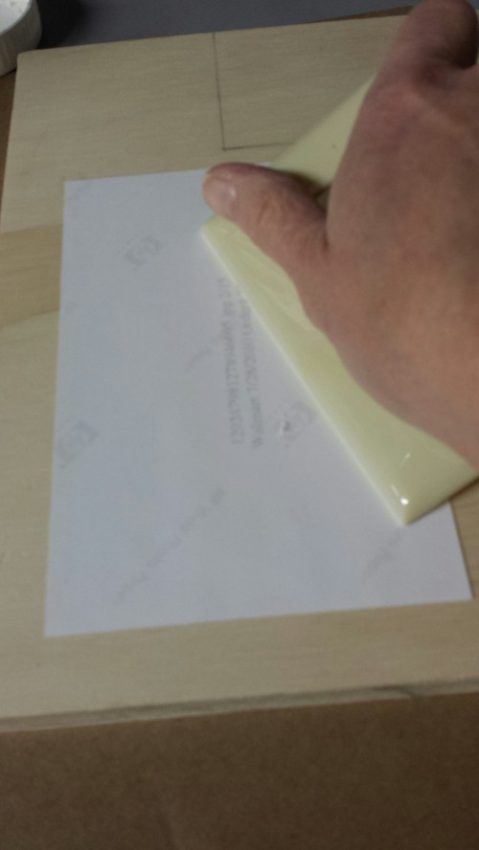
Place a smooth thin layer of MOD PODGE to THE BACK OF YOUR PHOTO (or the WOOD OR CANVAS if it is the SAME SIZE as your PHOTO).

Place the PHOTO (FACE UP) onto your WOOD (OR CANVAS) and gently press out and air bubbles (use your fingers or a brayer).

Then, I added another thin layer of (MATTE) MOD PODGE to the TOP of my photo (NOTE: mod podge does dry fast so try to work as quickly as you can and keep the brush strokes smooth (so there are no deep lines or ridges)…a synthetic brush and soft touch helps to keep it smooth).

I cut out my sentiment and sanded it a little where it would meet the photo.
I used the mod podge to adhere it to the top of my plaque (coat the wood or bottom of sentiment with a thin layer of mod podge).
Then I added another coat on top of it to protect it and blend it into my photo (once it dries (15- 20 minutes), another coat can be added to the entire photo).

I finished it off with rubbing some walnut colored distress ink around the edges.

I love this photo of my husband’s grandparents! I placed it in our foyer beside our photo…just love seeing it when I enter and exit our home!

Both projects are fun to experiment with. However, if you are looking for a fast and less messy version, MOUNTING a photo would be the way to go.
Have fun! Would love to see any pieces you do. Feel free to post at: https://www.facebook.com/happyheartchildrensbooks