Blue Gel Glue Batik: Easy & Fun Kid’s Craft
Blue gel glue as a batik makes for a fun craft idea for the kids! The designs can be simple shapes or patterns.
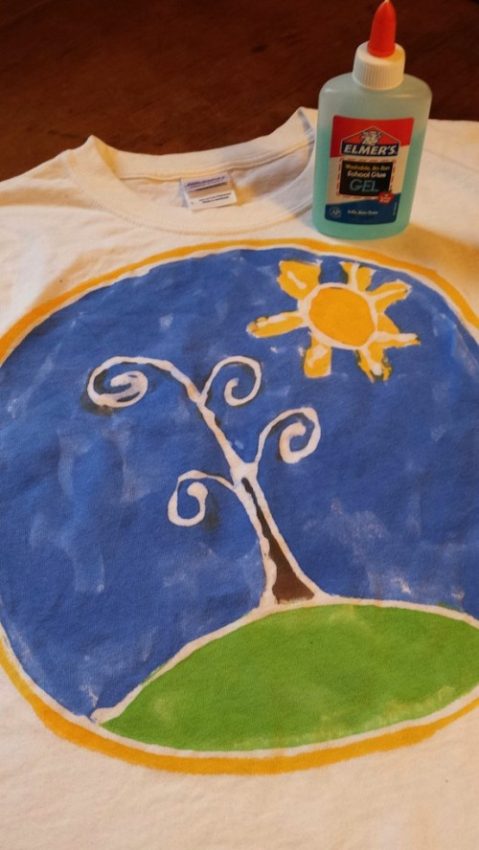
SUPPLIES:
Pre-washed cotton t-shirt, linen or canvas material
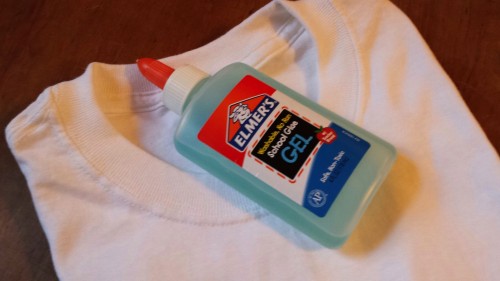
Blue Gel Glue
Paper (to draw your design)
Plastic cover to protect work area
Thick paper or cardboard for inside t-shirt
Wax paper (for (inside) t-shirt)
Fabric paint (or water down (non-toxic) acrylic paint)
Paint brushes
STEPS:
Prepare Your Fabric/Material –
Cotton or linen works best and I would recommend washing your material before use. My class hand designed their own pattern for their t-shirts. However, this batik method may be used on canvas material, tote bags, pillow cases, etc.
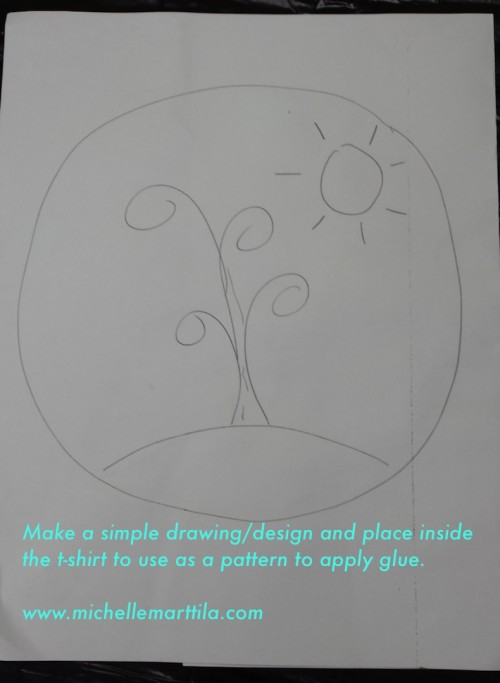
Draw A Simple Design –
With my 5 – 8 year old students, I had them design simple drawings on paper and then each outlined their shapes in black marker. NOTE: You can skip creating a sketch to use as a template and apply the blue gel glue directly to the material or use a pencil and lightly sketch the shapes directly onto your fabric.
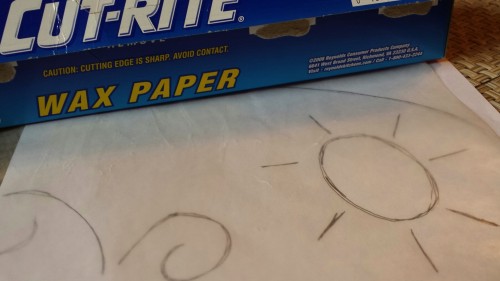
Cover Drawing with a Sheet of Wax Paper –
A sheet of wax paper was placed over each design, before it was inserted inside the t-shirt (this will help keep the material from sticking to the paper after the glue and paint is applied). In addition, a thicker sheet of paper or cardboard may be placed under the design to keep the paint from bleeding into the back of the t-shirt.
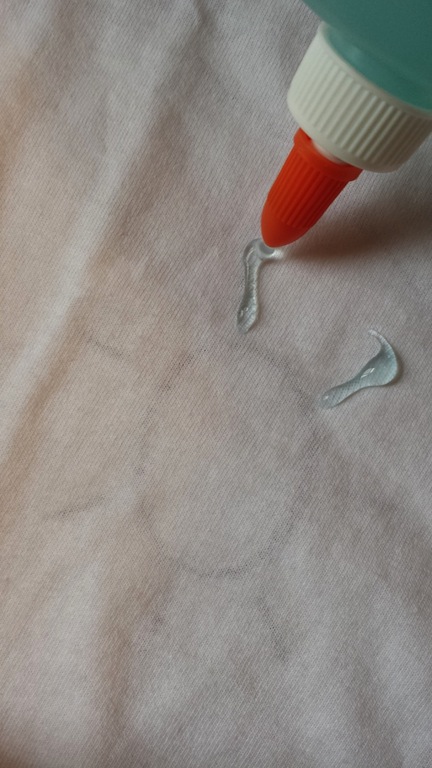
Apply Batik with the Blue Gel Glue –
Students applied the glue along the lines of their drawings.
Allow Glue To Dry –
Allow the glue to completely dry before applying the paint. This may take 8 to 24 hours (depending on climate…it will dry faster in warmer weather).
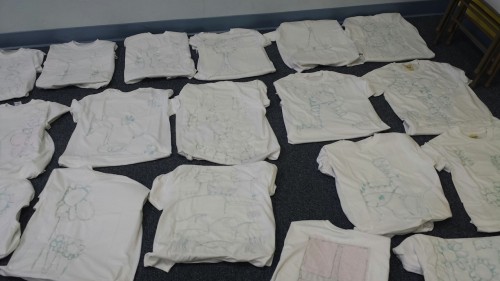
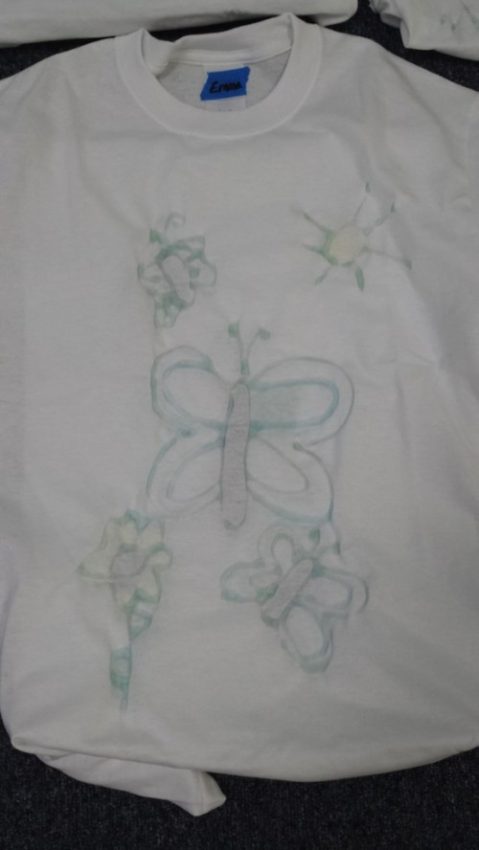
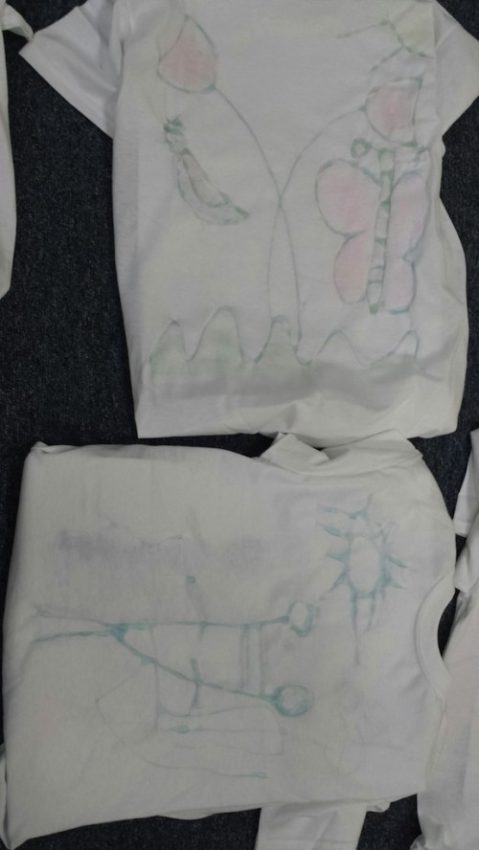
Paint the Fabric –
Thin acrylic paint with water (just enough to still have a rich color and thin enough to absorb into the t-shirt). NOTE: Too thick of paint will leave the t-shirt stiff and too thin will make it looked washed out.
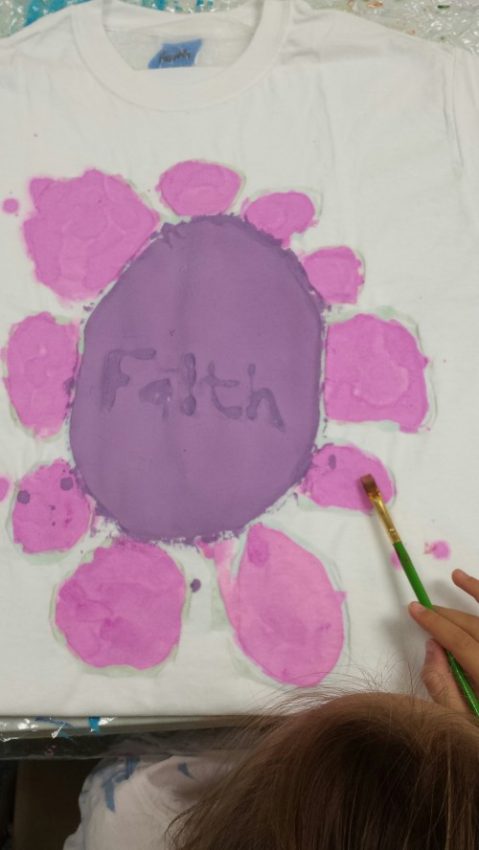
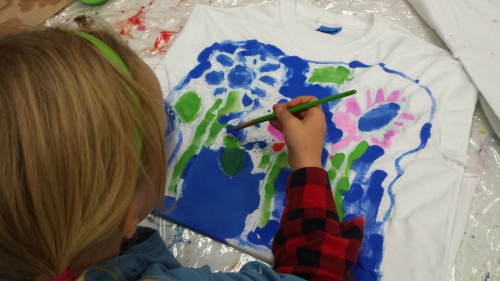
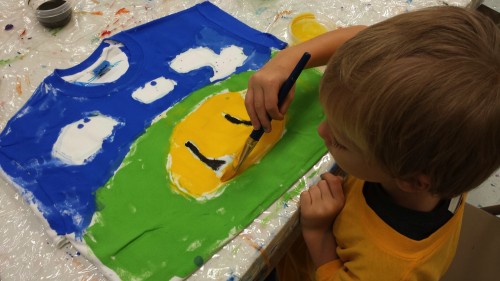
Students painted the designs on their t-shirts.
Allow The Paint To Dry –
Depending on climate, it may take an hour or more for the paint to dry completely.

Remove The Glue –
Soak the material in warm water for about 20 minutes. This will soften the glue and you can peel it off or rub the material together to remove the glue. NOTE: I usually use a plastic bin or basin for this step to be able to keep the glue from going down the drain.
After the glue has been taken off, I would recommend washing the t-shirts one more time (in the wash machine or by hand) and rinse with a little fabric softener.
Finishing Touches –
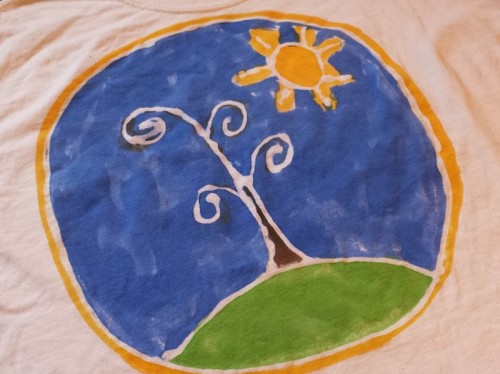
Once the t-shirt is dry, it is ready for wear. Other fabric used for your batik may be framed or even used to create other items (pillow cases, dresses, placemats, gift bags, flags, etc).
See, More T-shirt Designs
Children love creating batik designs (adults too!). It’s an art technique that has endless possibilities for seasonal and holiday crafts & gifts. Hope this idea has you exploring and making your own fun batik items!!! 😀
Keep connected to see what is to come! In the future I’ll be covering many more ideas for the inspired heart to find joy in the little things in life, drawing techniques, fun projects from home school art class, more DIY projects, Christmas ornaments, and give-a-ways. Yes, GIVE-A-WAYS!!! I’ll be sending these things out by email, so if you are not on my email list yet then you can sign up in the column below my photograph. Thank you for reading and I’ll see you in the next post!
Happy blessings,
Michelle
More art projects on Instagram
Follow on Twitter
Join the fun on Pinterest
Check out what’s on Facebook
Connect with me on Linkedin
Signup for Blog, Announcements & Updates (Left Column)


