Emily Carr Inspired – Chalk Pastel Scene
MATERIALS NEEDED:
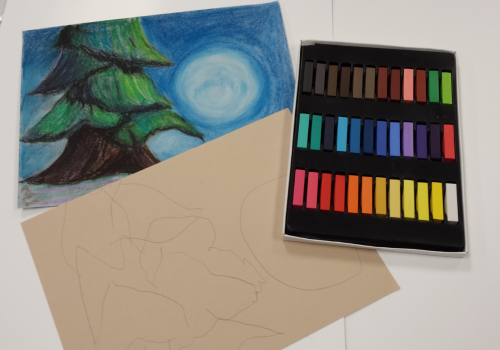
Images of Emily Carr’s Work
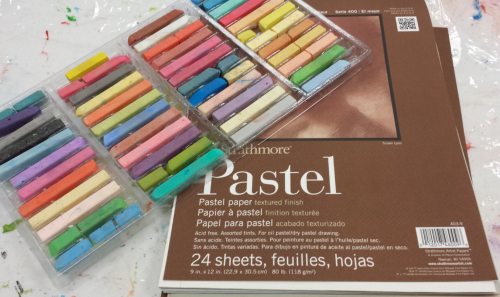
Pastel Paper
Pencils
Chalk Pastels
Cotton Swabs
Fixative
Placemat (or larger sheet of paper to go under pastel paper – to catch the dust)
Project time: Two, 45 minute sessions
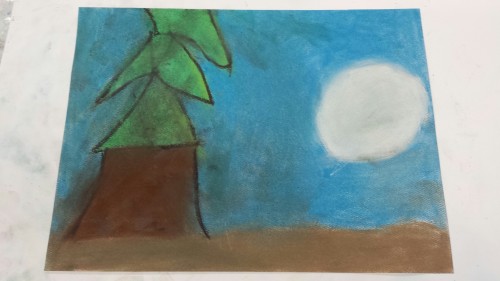
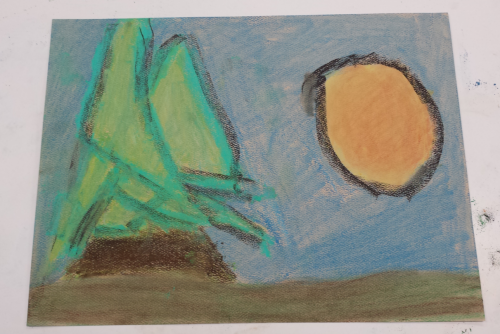
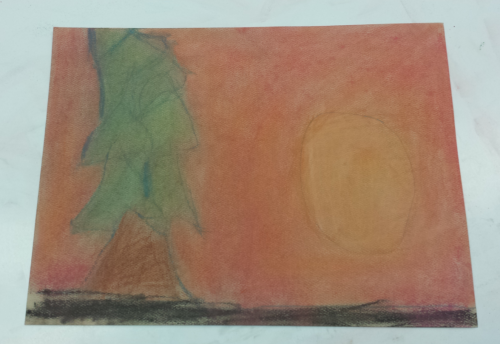
I just love Emily Carr’s tree-scapes! Her unique perspective of tree images and patterns that show movement are so appealing and fun to view. Therefore, this class project was inspired by her work to be able to educate the class on the different elements of shape, design elements of patterns/movement/texture, background, foreground, scale, perspective, and composition.
We spent a brief time talking about Emily’s work. I asked the students to think about a forest and showed them some of Emily’s work and we spent just few minutes talking about how her trees took on a magical/dreamlike quality.
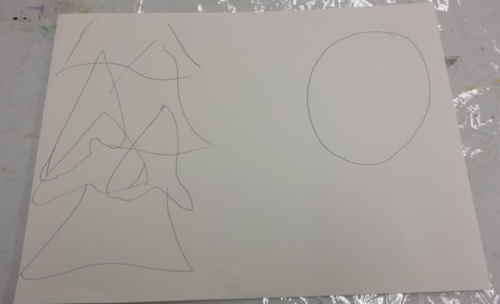
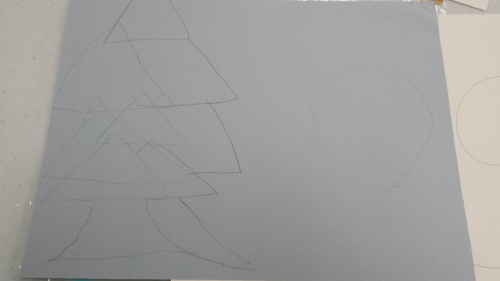
Then we discussed composition and the 5 basic elements of shape. I demonstrated to the class how to draw a circle, triangle and rectangle. I showed them how our scene is made up of these basic shapes.
Each child was handed a sheet of pastel paper and a pencil to layout their tree designs. I talked them through it and showed them on an eraser board how to draw these basic shapes for their scene. Also, I explained that the these shapes were just a guide to help them with placement. They were encouraged to draw variations of these shapes to create movement of the branches.
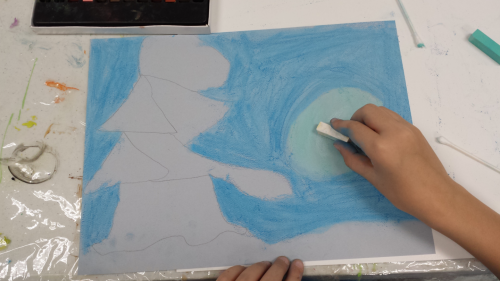
Once the drawing was completed, I had them come to one table so I could demonstrate how to color with the chalk pastels. I stressed the importance of not blowing the dust created by the chalk pastels (informed students that I would shake it off in the trash can and for them to raise their hands if they needed me to come by and help). I went over the terms of background and foreground with them and had a discussion time regarding the importance of coloring in what is the farthest back (background) in their scene. I explained blending and informed them they would be able to do this with their finger or the cotton swabs. So each student was sent back to their seats to start coloring in their sky, moon (or sun), and ground.
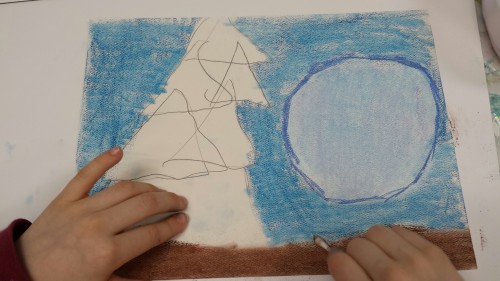
After the background images were colored, the class was instructed that they could move onto the foreground and color their trees. Before they began, I showed them how they would be able to create different patterns within their “triangular” tree shapes.

When the scenes were completed, I took the papers outside to spray with fixative (available at a local craft store) in order to keep the chalk from coming off the design.
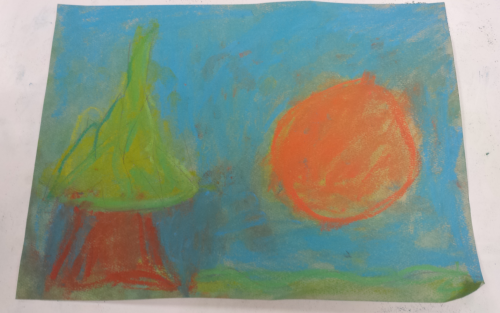
I just love how these turned out!
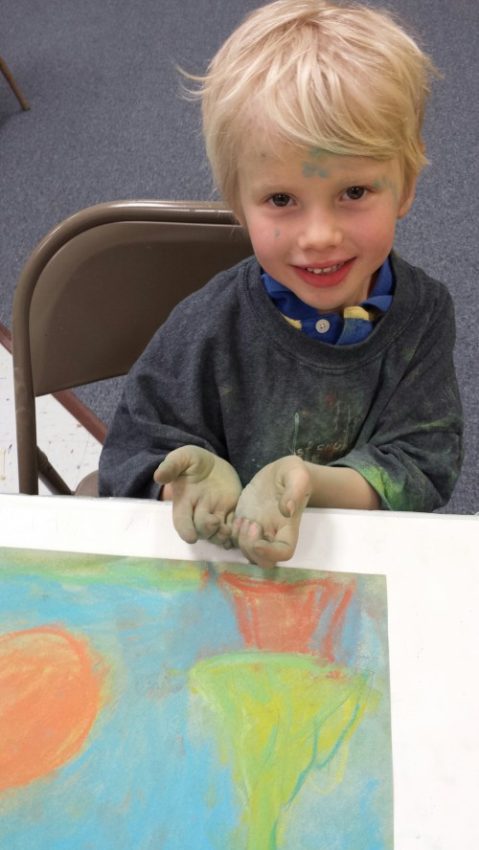
This project can be a little messy, so make sure the children have an art shirt over their good clothes. Even then, you may need to give a little extra help in the clean-up department…like a did with this adorable little man that really got into his project!