Burlap Mummy Treat Bag

This is a fun and easy craft idea for Fall! Make a treat, gift or lunch bag within minutes…put a smile on face that can’t be measured! 🙂
SUPPLIES:
Burlap, Black paper, Scissors, Googly eyes, and Glue (Optional: white acrylic paint).

PROCESS:
Take a brown paper bag (lunch size).

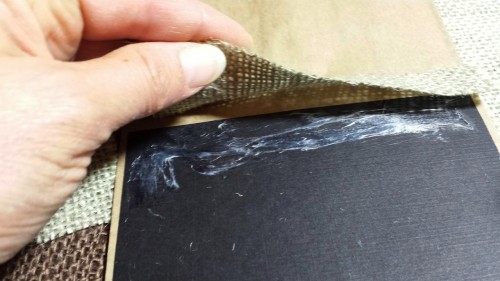
Cut black paper to cover 2/3 of the front and glue it down with a glue stick (side without flap).
Also, cut burlap the same size as the black paper (or use the brown bag (width) to measure and cut burlap to cover the black paper.

Cut the burlap in strips (no need to worry about perfection–it helps for the sizes to vary).

Use glue stick or tacky glue to secure the burlap to the black paper.

Leave a space between the top strip of burlap and the second strip for the placement of the eyes.
Finish glueing on the burlap strips.

Place eyes on mummy bag.
(Art tip/trick: I only had small goggly eyes on hand. To create a larger eye, I used acrylic white paint and made larger circles for the small googly eyes to be glued in the middle space).


I used a hole punch and made holes in the top of the bag and then tied a bow for easy access. A mummy never looked so cute! 🙂

Blessings,
Michelle
Find Happy Heart: Fill’er Up!
Follow on Twitter
Join the fun on Pinterest
Check out what’s on Facebook
Connect with me on Linkedin
Signup for Blog, Announcements & Updates (Right Column)


09/14/2017 @ 3:32 pm
How cute! The grandkids would love this. I made them mummy lanterns last year and they still have them, and this year they got jack-o-lantern lamp.
09/15/2017 @ 12:24 pm
Thank you Linda!! 🙂 Love the lantern ideas!!!
09/17/2017 @ 8:26 am
This is a super cute idea! I love how versatile burlap crafts are – great idea for a fun Fall project to do with the kiddos 🙂
09/17/2017 @ 1:27 pm
Thank you Jelica!! I love simple projects…so glad you like!! 🙂